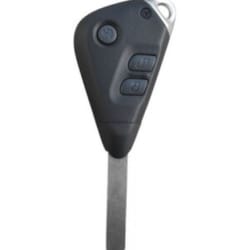
Subaru Remote Programming

Subaru.png
NB: This procedure is only for programming the remote modules for Subaru integrated key and remotes. Diagnostic tools are required to program the transponder chips. 1. Remove the driver's kick panel. 2. Find the white "Registration connectors". 3. Connect both ends of the "Registration connectors". 4. Press and hold the "Unlock" button on driver's door control panel. 5. while still holding the "Unlock" button, press the "Lock" button on the new remote twice - door locks should cycle. 6. Release the "Unlock" button on the driver's door control panel. 7. Repeat steps 4, 5 & 6 for all additional remotes (Including old remotes). 8. Once all remotes have been programmed, disconnect the "Registration connectors" and replace the driver's kick panel NOTE: IF THE CAR DOES NOT HAVE AN "UNLOCK" BUTTON ON THE DRIVER'S DOOR CONTROL PANEL, REPLACE STEPS 4, 5 & 6 WITH THE FOLLOWING: 4. Stand outside the car with the car key and close the driver's door. 5. insert the key into the driver's door lock and hold the key in the "Unlock" position. whilst holding the key in the "Unlock" position, press the lock button on the new remote twice. 6. release the key in the driver's door lock. NB All remotes must be programmed once the vehicle enters programming mode.
